Get better results on every project with our Painting & Finishing Guides—built for homeowners, contractors, facility teams, and DIYers who want a clean, durable, professional-looking finish. Learn how to prep drywall, wood, metal, masonry, and previously painted surfaces; choose the right primer and paint system; and apply coatings evenly with a brush, roller, or sprayer. We break down paint sheens, drying vs curing times, color consistency, and common issues like lap marks, flashing, peeling, and bleed-through—so you can avoid costly rework. Use these step-by-step resources to plan your materials, improve workflow, and deliver a finish that lasts indoors and out.
Our Painting & Finishing Guides are designed to help you move from “good enough” to a finish that looks consistent, performs well, and holds up over time. Whether you’re working on an interior refresh, exterior repaint, cabinet refinishing, or a commercial maintenance cycle, the fundamentals stay the same: prep, product selection, and application technique.
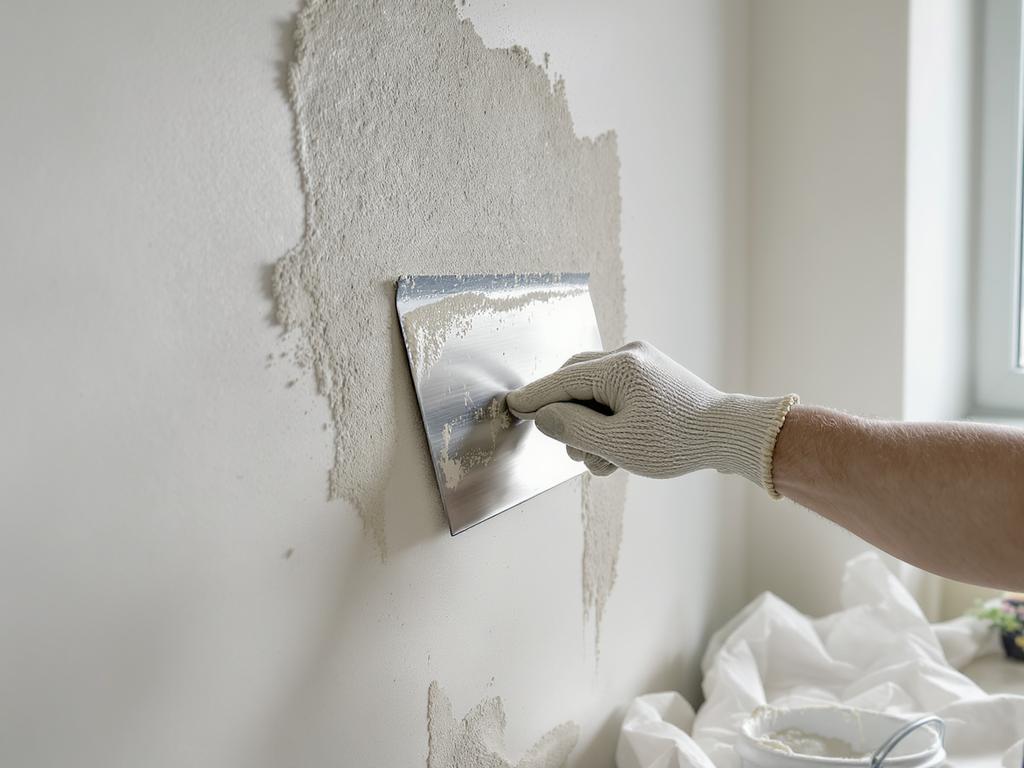
1) Surface Prep: the Foundation of Every Finish
Most coating failures trace back to prep. Start by identifying the substrate (drywall, wood, metal, concrete, stucco) and the condition (chalky, glossy, stained, damp, previously coated). Then build a prep checklist that matches the job.
Clean: remove dust, grease, soap film, and mildew; rinse and allow full drying.
Repair: patch holes, fill cracks, re-caulk joints, and replace damaged material.
De-gloss: sand or use a deglosser on shiny paints to improve adhesion.
Dust control: vacuum and tack before priming or topcoating.
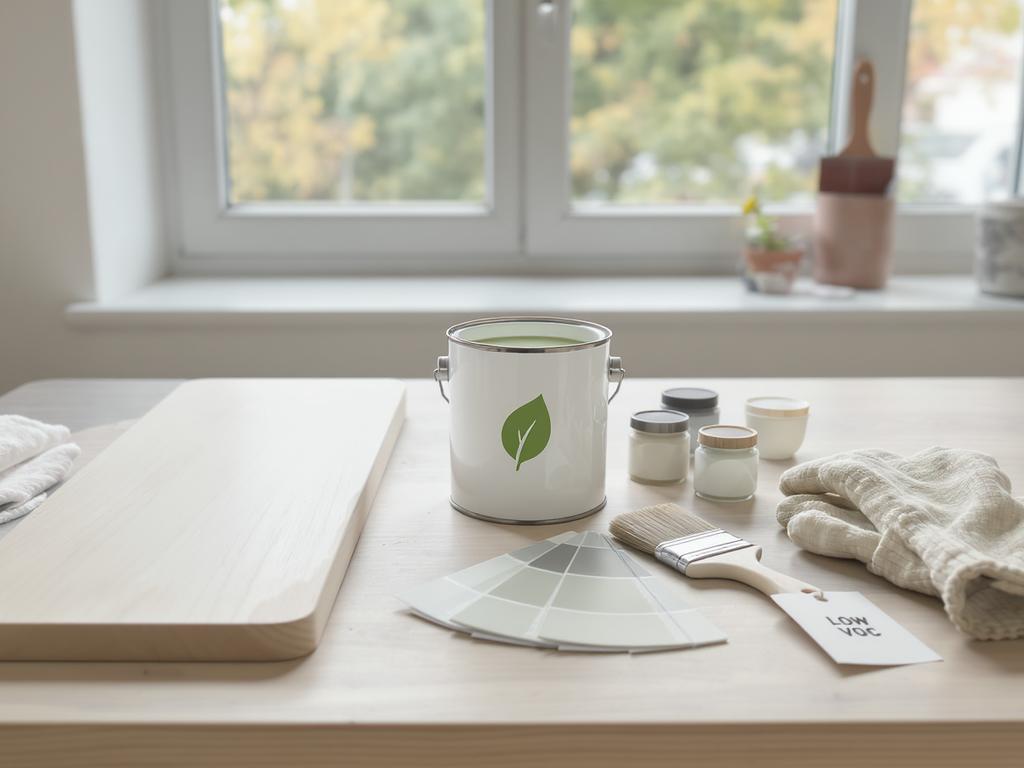
2) Primer & Paint Selection (What to Use and Why)
Choosing the right system prevents bleed-through, peeling, and uneven sheen. Match primer to the problem (tannin, rust, water stains, porous surfaces) and match paint to exposure (UV, moisture, traffic, chemicals).
Interior walls: low-VOC acrylics; pick sheen based on cleanability.
Bathrooms/kitchens: moisture-resistant paints and proper ventilation planning.
Exterior: UV- and weather-rated coatings; confirm temperature and humidity windows.
Wood finishing: stains + sealers for color and protection; test on a sample board.
3) Application: Brush, Roller, or Sprayer?
Tools impact texture, coverage, and speed. Our guides explain nap selection, spray tip sizing, and how to keep a wet edge to reduce lap marks and flashing.
Brush: best for cut-in, trim, detail work, and controlled edges.
Roller: efficient for walls/ceilings; select nap for smooth vs textured surfaces.
Sprayer: fastest for large areas and cabinets; requires masking and back-rolling when needed.
As you continue through our Painting & Finishing Guides, you’ll see how small process upgrades create noticeably better outcomes—especially on high-visibility surfaces like doors, trim, cabinets, and feature walls.
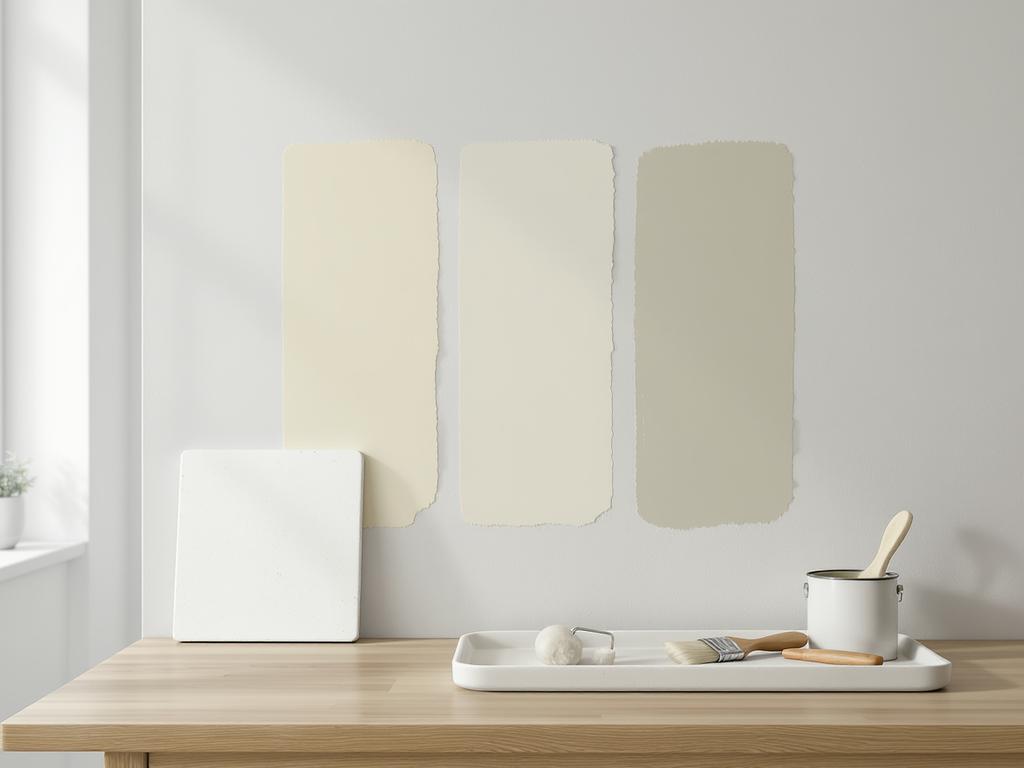
4) Understanding Sheen, Coverage, and Color Consistency
Sheen affects both appearance and performance. Higher sheens (semi-gloss/gloss) highlight surface defects but clean easily; lower sheens (flat/matte) hide imperfections but may mark more readily. For consistent results:
Box your paint: combine cans into one bucket to reduce color variation between batches.
Maintain a wet edge: work in sections to avoid lap marks and “picture framing.”
Follow spread rates: under-applying can cause flashing; overloading can cause sags.
Mind dry vs cure: paint may feel dry quickly but needs days to reach full hardness.
5) Drying Conditions and Scheduling (Interior & Exterior)
Temperature, humidity, airflow, and surface moisture directly impact adhesion and finish quality. Exterior projects benefit from planning around dew point, direct sun, and approaching storms. Interior projects benefit from steady airflow and controlled humidity—especially for primers and waterborne coatings.
Exterior timing: avoid painting too late in the day if overnight condensation is likely.
Ventilation: use fans strategically; don’t blast dust onto fresh coatings.
Recoat windows: follow label guidance; recoating too early can trap solvents and cause failure.
6) Finishing Work: Trim, Cabinets, and Wood Staining
Detail finishing is where technique matters most. Our guides cover sanding sequences, grain direction, and when to use conditioners, sealers, or topcoats for long-term durability.
Cabinets: degrease thoroughly, sand for adhesion, prime properly, and apply thin, even coats.
Trim & doors: smooth with fine sanding; avoid over-brushing to reduce brush marks.
Stain projects: test color; wipe evenly; seal with a compatible clear coat.
7) Troubleshooting: Fix Problems Before They Spread
If something looks off, it’s usually faster to correct it early than to push forward. Here are common issues our Painting & Finishing resources address:
Peeling or poor adhesion: often caused by gloss, dirt, moisture, or skipping primer.
Bleed-through: stains or tannins require the right stain-blocking primer.
Flashing: uneven porosity or inconsistent film thickness; correct with proper priming and even application.
Runs/sags: too much product or slow drying conditions; apply thinner coats and adjust technique.
8) Commercial-Grade Finishing: Durability and Efficiency
For facility managers and contractors, performance and uptime matter. We include guidance on selecting coatings for high-traffic corridors, healthcare and education spaces, and exterior building envelopes—plus workflow tips for faster turnarounds and cleaner handoffs.
Low-odor solutions: minimize disruption in occupied spaces.
Scuff resistance: choose coatings designed for repeated cleaning cycles.
Documentation: track products, colors, and batch info for future maintenance.
Use these guides as a practical playbook—from prep and priming to final coat and cleanup. If you want consistent, professional results, follow the system: evaluate the surface, choose the right primer and coating, apply with the right tool, and respect drying conditions. That’s how you get a finish that looks great on day one—and still looks great years later.
 HI 58° LO 56°