-
New York, NY
 HI 58° LO 56°


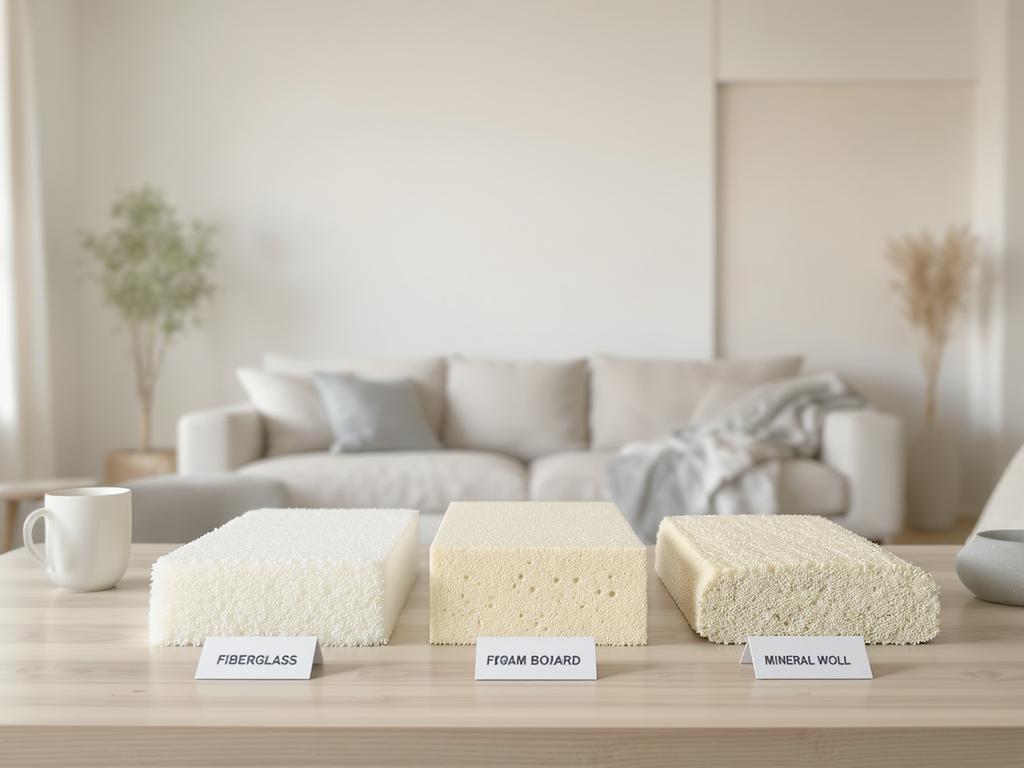
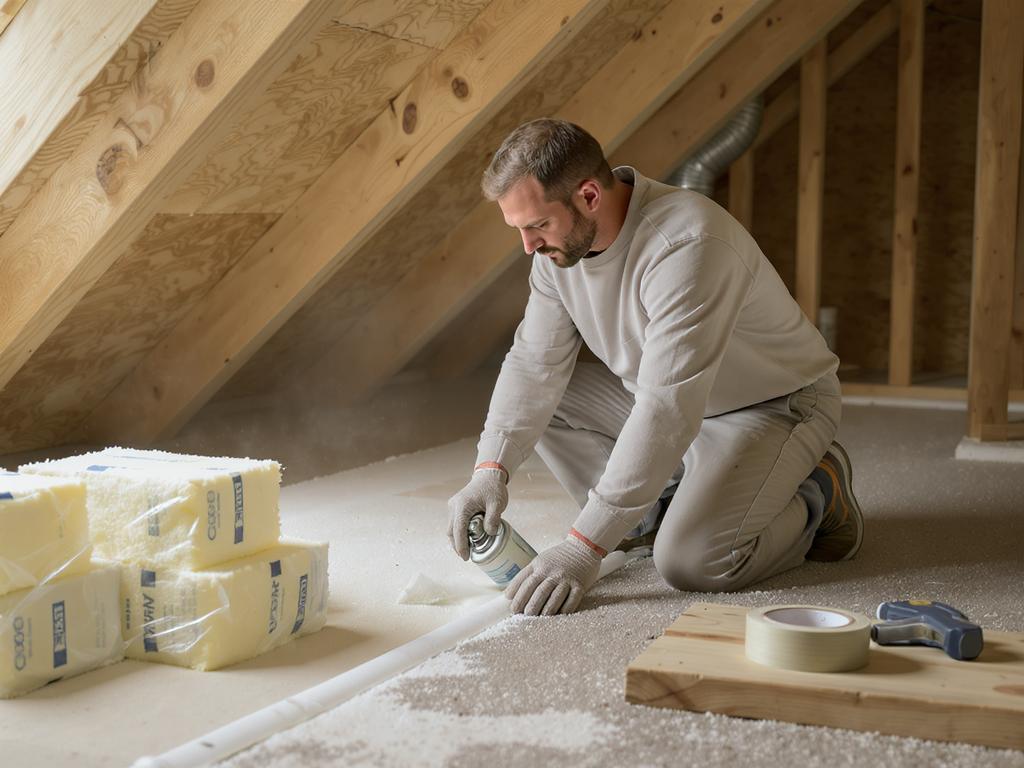
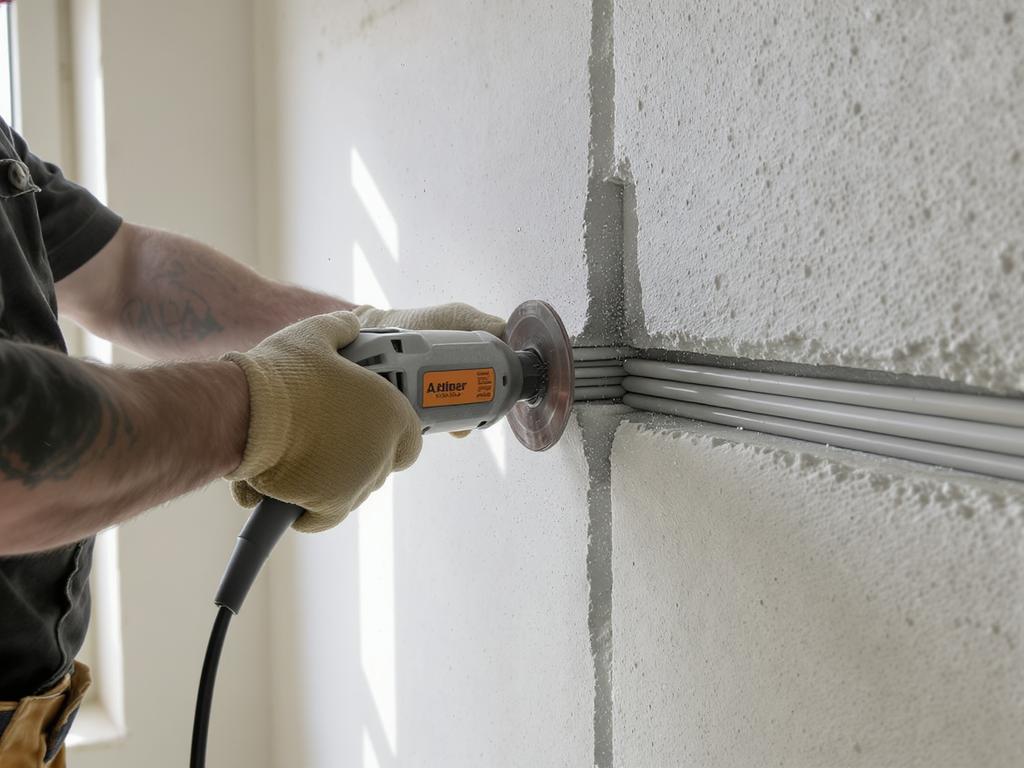
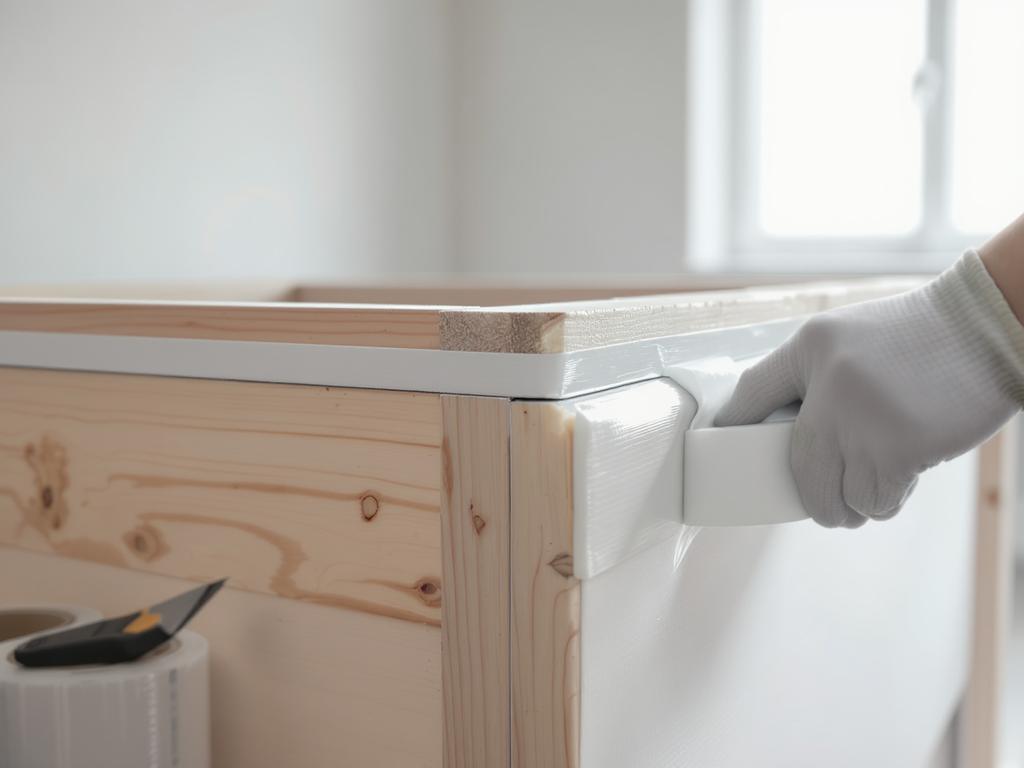
Drywall (gypsum board) installation looks simple, but a clean result depends on preparation and a few proven tricks. Start with a dry, stable base: check studs or metal profiles for straightness and set a consistent spacing (commonly 16 in / 400 mm). If you are combining insulation & drywall, place mineral wool or another insulation neatly between studs without gaps, and install a vapor barrier where required by your climate and local code. Mark electrical lines and box locations in advance to avoid surprises after the sheets are up. Measure twice and cut accurately: score the face paper, snap the board, then trim the back paper. Stagger vertical seams and avoid aligning joints at corners and openings. For ceilings, use full sheets when possible and install boards perpendicular to framing to reduce sagging. Fastening is another “secret”: use the right drywall screws and drive them so the head is slightly dimpled without tearing the paper. Keep screws a safe distance from edges, and add extra fasteners around cutouts. Leave a small gap at the floor to prevent moisture wicking. Finishing determines the final look. Apply tape over joints, then build up joint compound in thin layers rather than one thick coat. Feather edges wide to hide transitions, let each coat fully dry, and sand lightly with good dust control. Prime before painting to reveal imperfections early. With careful layout, correct fastening, and patient finishing, drywall becomes smooth, strong, and ready for any interior design.
This guide was a solid refresher before I hung drywall in our laundry room. The reminders about staggering seams, keeping screw heads just dimpled (not tearing paper), and doing thin coats of mud are exactly what separates a decent job from a smooth finish. I would’ve loved a quick note on recommended screw spacing for walls vs ceilings, but overall it’s clear and practical.
This guide was a solid refresher and I liked how it broke down the “little things” that actually make or break a drywall job, especially screw depth and staggering seams. The reminder about leaving a small floor gap and priming to spot flaws early was spot on. I would’ve loved a bit more detail on inside/outside corners, but overall it’s clear and practical for a DIYer or someone supervising a contractor.