-
New York, NY
 HI 58° LO 56°

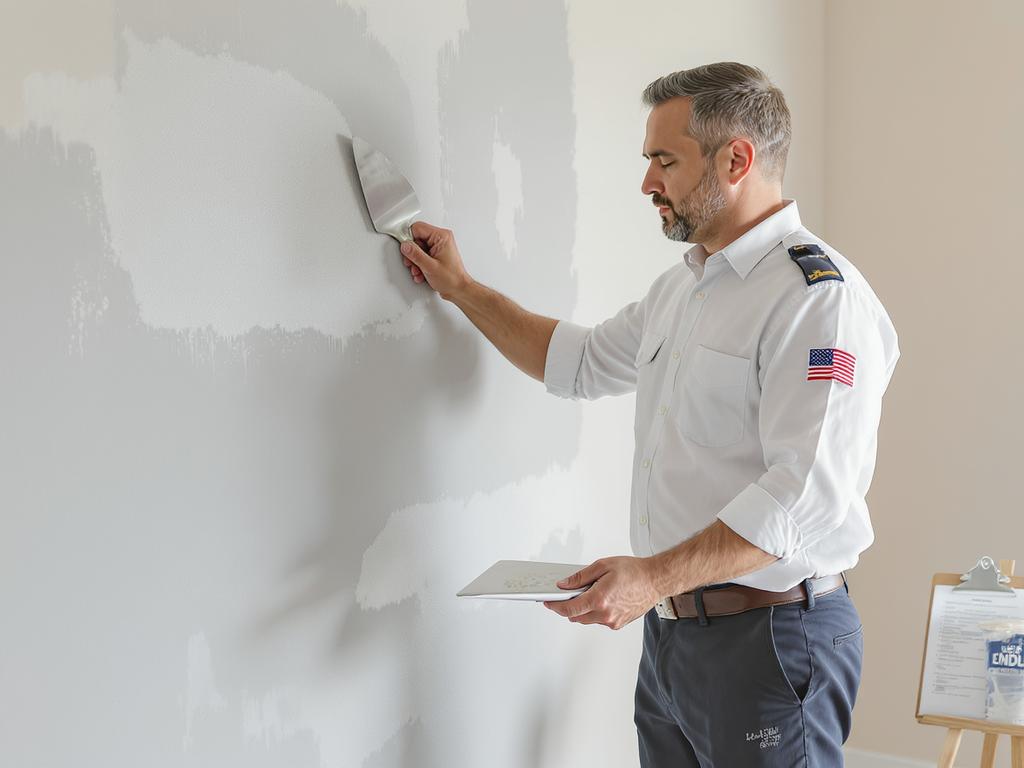
Decorative plaster is one of the most effective ways to add depth, movement, and a premium look to interior walls. This guide explains the core technique of applying decorative plaster for Painting & Finishing projects in Anaheim, from preparation to final protection. 1) Surface preparation. Remove dust, loose paint, and grease. Repair cracks, sand high spots, and ensure the wall is flat. Prime the surface with a bonding primer suitable for mineral-based or acrylic plasters; good adhesion is the foundation of a clean finish. 2) Tools and mix. Use a stainless-steel trowel, spatulas, a hawk, and masking tape for edges. Mix plaster slowly to avoid air bubbles. Work in small batches so the material stays workable. 3) Base coat. Apply a thin, even layer (typically 1–2 mm) with consistent pressure. Keep a “wet edge” and avoid stopping in the middle of a wall to prevent visible seams. 4) Creating texture. Once the base coat starts to set, build the decorative effect: short cross strokes for a modern concrete look, longer sweeping arcs for Venetian-style movement, or stippling with a sponge for a softer texture. Adjust the trowel angle—lower angles lay material flat; higher angles create more pattern. 5) Smoothing and burnishing. As the plaster firms up, lightly compress the surface with a clean trowel. For polished finishes, burnish in passes to increase sheen and reduce trowel marks. 6) Finishing and protection. After full drying, apply wax or a clear sealer to improve washability and stain resistance—especially in kitchens, hallways, and high-traffic Anaheim homes. Always test products on a small area to confirm color and sheen. Follow these steps, work methodically, and you’ll achieve a durable, professional decorative plaster finish with consistent texture and clean transitions.