-
New York, NY
 HI 58° LO 56°

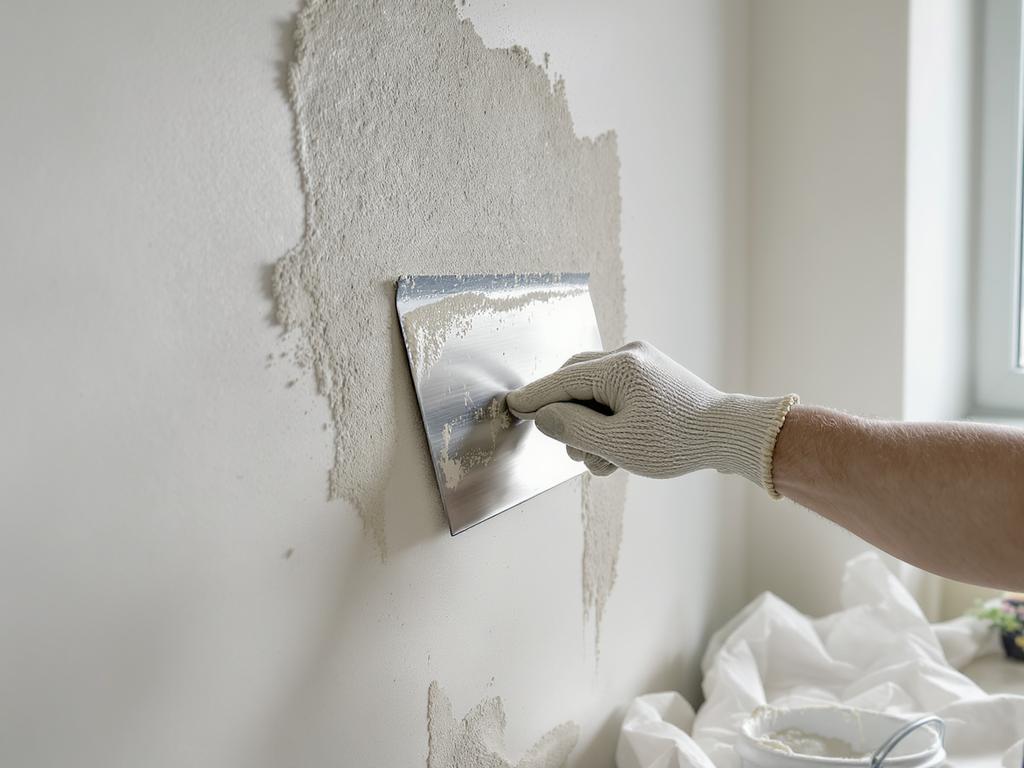
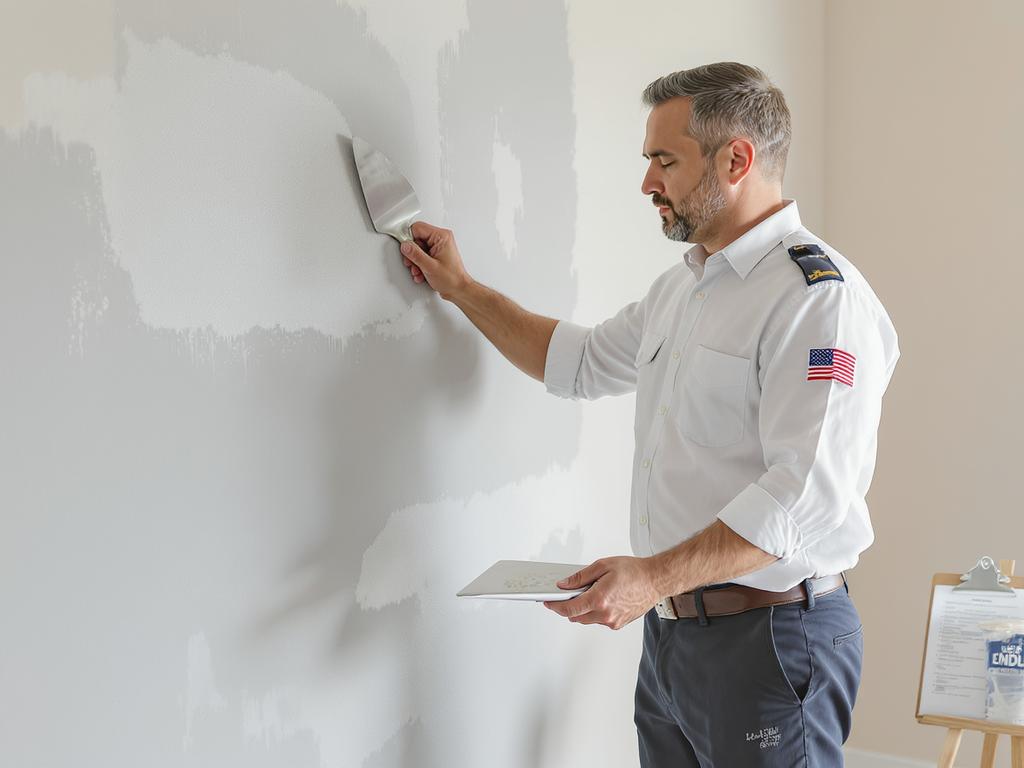
Decorative plaster is one of the most versatile ways to upgrade walls, adding depth, texture, and a premium handcrafted look. This guide explains the core decorative plaster application technique—from preparation to finishing—so you can achieve consistent, professional results. Start with surface preparation. The wall must be clean, dry, and stable: remove dust, grease, and loose paint; repair cracks; and sand high spots. Apply a suitable primer (often quartz/grit primer for better grip) and let it cure fully. Next, mix the plaster according to the manufacturer’s instructions; keep the consistency uniform and avoid adding excess water. Apply the base coat using a stainless-steel trowel or spatula. Work in small sections, holding the tool at a low angle to keep the layer even. After the first layer sets, apply a second coat to build coverage and begin shaping the texture. For effects like travertine, concrete, or stone, use different pressures and directions; for smoother finishes like Venetian plaster, apply thin layers and compress the surface with the trowel. Drying time is crucial: allow each coat to set before continuing, and avoid drafts or rapid heating that can cause cracking. Once cured, refine the surface by lightly sanding or polishing, depending on the desired sheen. Finish with the right protection. Wax enhances depth and gloss for polished plasters, while a clear sealer improves stain and moisture resistance in kitchens, bathrooms, and hallways. With careful prep, controlled layering, and proper finishing, decorative plaster becomes a durable, elegant wall finish.
This was a really practical walkthrough of decorative plaster, especially the emphasis on prep and letting each coat cure instead of rushing. I appreciated the simple tips like using a quartz/grit primer and keeping the trowel at a low angle, since those are the kinds of details most guides skip. I do wish it had a little more guidance on troubleshooting (like what to do if you get trowel lines or hairline cracks), but overall it’s a solid, easy-to-follow primer.
This guide was a solid refresher before I tried a Venetian-style finish in my entryway. The prep section and the note about using a quartz/grit primer made a noticeable difference in how evenly the plaster grabbed. I do wish it had a little more detail on how long to wait between coats in different humidity, but overall it’s practical and easy to follow.