-
New York, NY
 HI 58° LO 56°

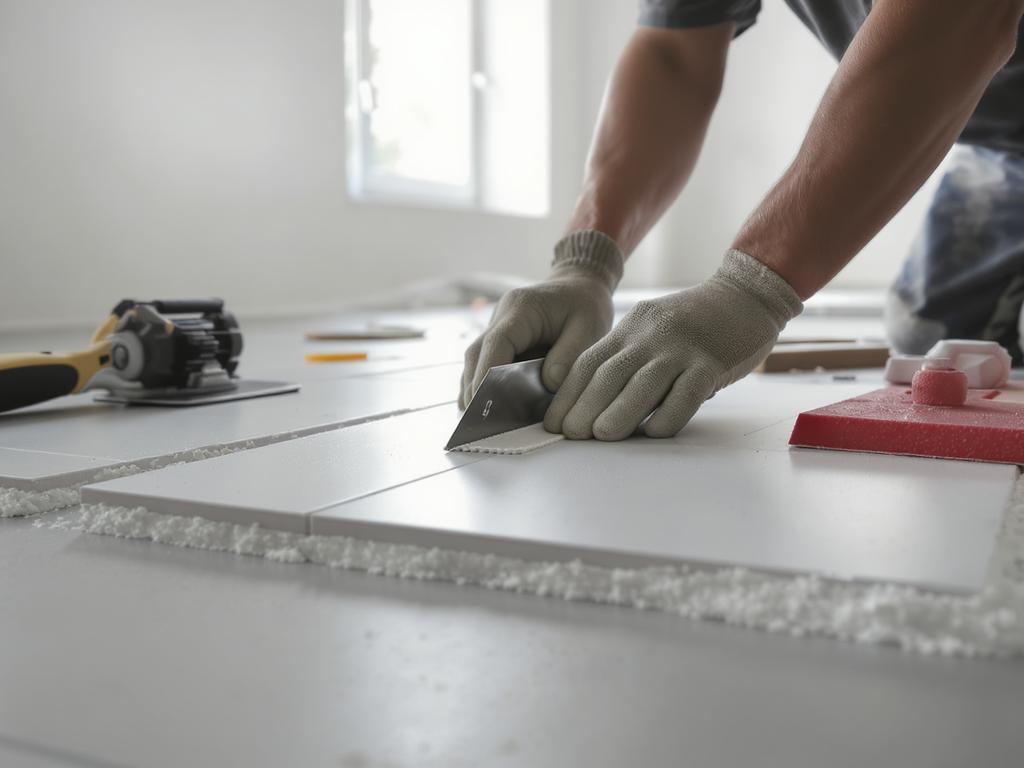
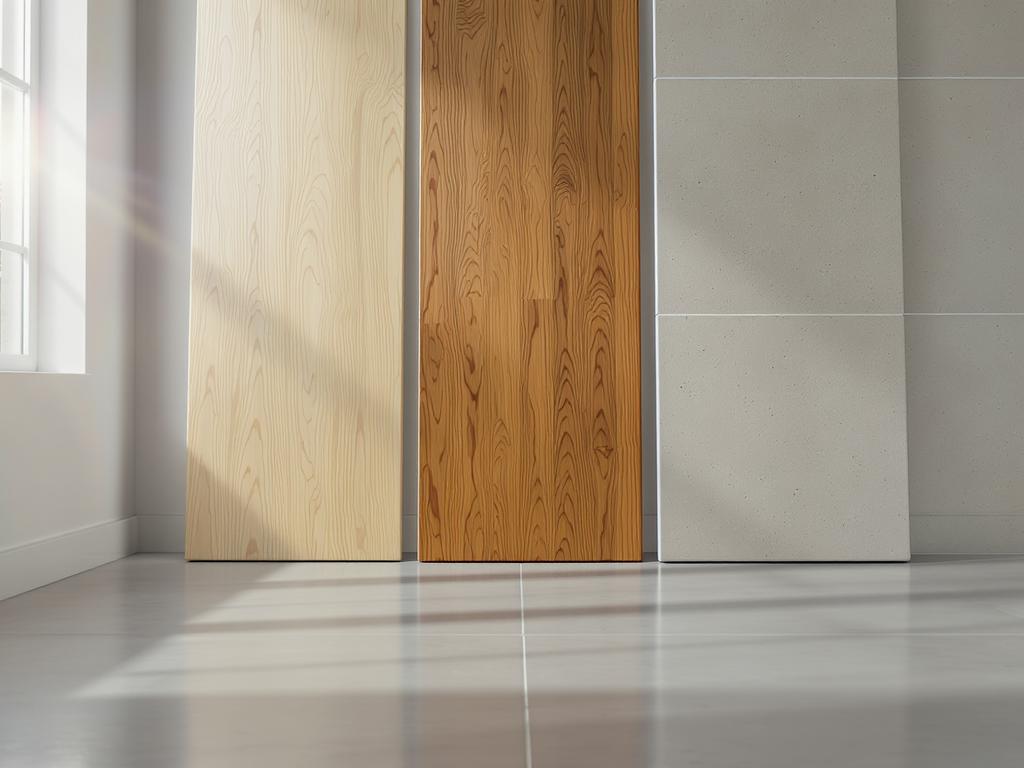
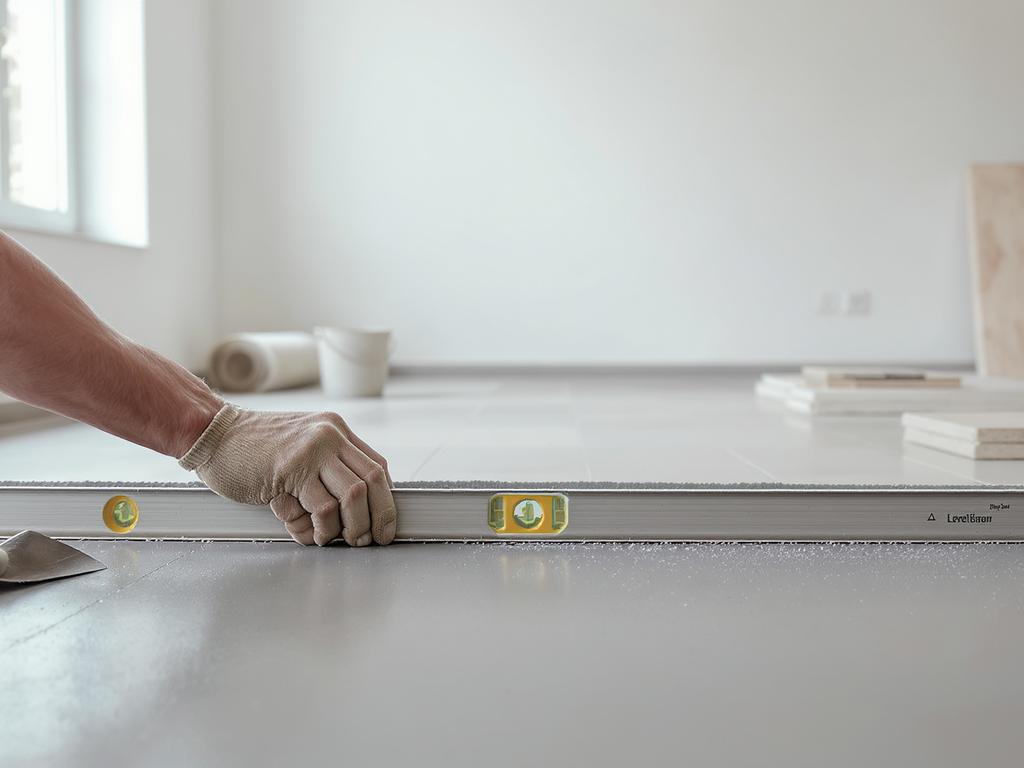
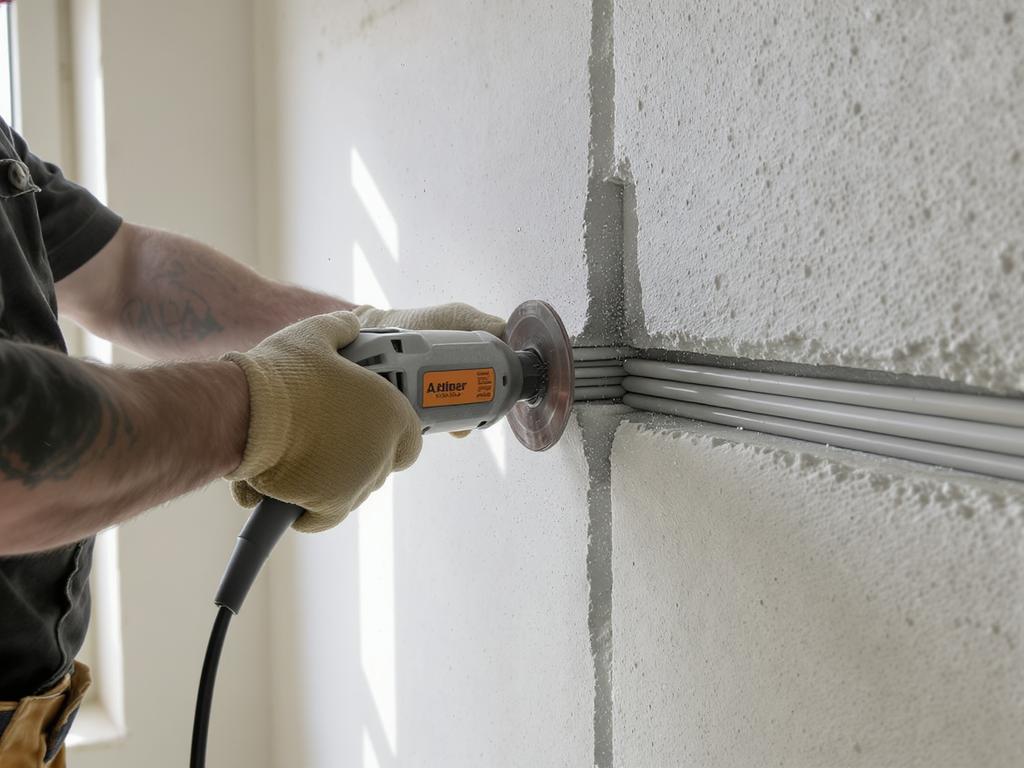
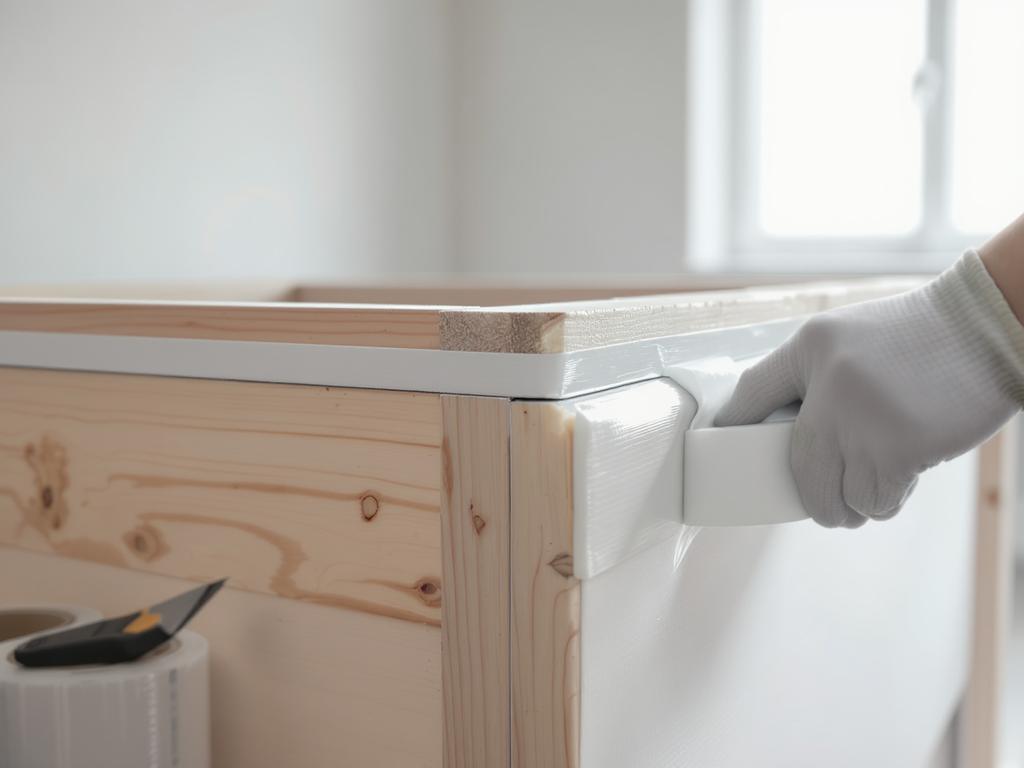
Successful ceramic tile work starts long before the first tile is set. Begin with accurate measuring and layout: use a tape measure, square, chalk line, and laser level to mark reference lines and keep rows straight. Dry-lay a few tiles to plan cuts and avoid thin slivers at walls or doorways. Surface preparation is the foundation of durability. Remove dust and loose materials, repair cracks, and ensure the substrate is flat. A long straightedge helps spot dips; use patching compound where needed. In wet areas, apply waterproofing membranes and use the correct backer board. For setting materials, a quality thinset mortar and the right notched trowel are key. Mix to a creamy consistency, spread in small sections, and comb ridges in one direction. Back-buttering large-format tiles improves bond strength. Use tile spacers for consistent joints and a leveling system to minimize lippage, especially on bigger tiles. Cutting tools depend on the job: a manual score-and-snap cutter handles most straight cuts, while a wet saw is ideal for dense porcelain or precise edges. An angle grinder with a diamond blade helps with L-cuts and notches; a hole saw makes clean openings for plumbing. After curing, grout with a rubber float, then clean with a damp sponge in light passes. Finish by polishing haze with a microfiber cloth, sealing grout if required, and installing trim profiles for crisp, protected edges.
This guide does a nice job emphasizing layout and surface prep before you ever mix thinset, which is where a lot of DIY installs go wrong. The breakdown of when to use a manual cutter vs a wet saw (and even the angle grinder for notches) felt practical and realistic. I would’ve liked a little more on cure times and movement joints, but overall it’s a solid, easy-to-follow overview.
This guide felt really practical, especially the reminders to dry-lay tiles and get your reference lines dialed in before you start spreading thinset. I appreciated the tool breakdown (wet saw vs. score-and-snap vs. grinder), which is where a lot of DIY articles get vague. Only thing I’d add is a quick note on expansion joints and movement gaps at walls so beginners don’t grout everything tight. Overall, solid walkthrough that matches how the job actually goes.