-
New York, NY
 HI 58° LO 56°


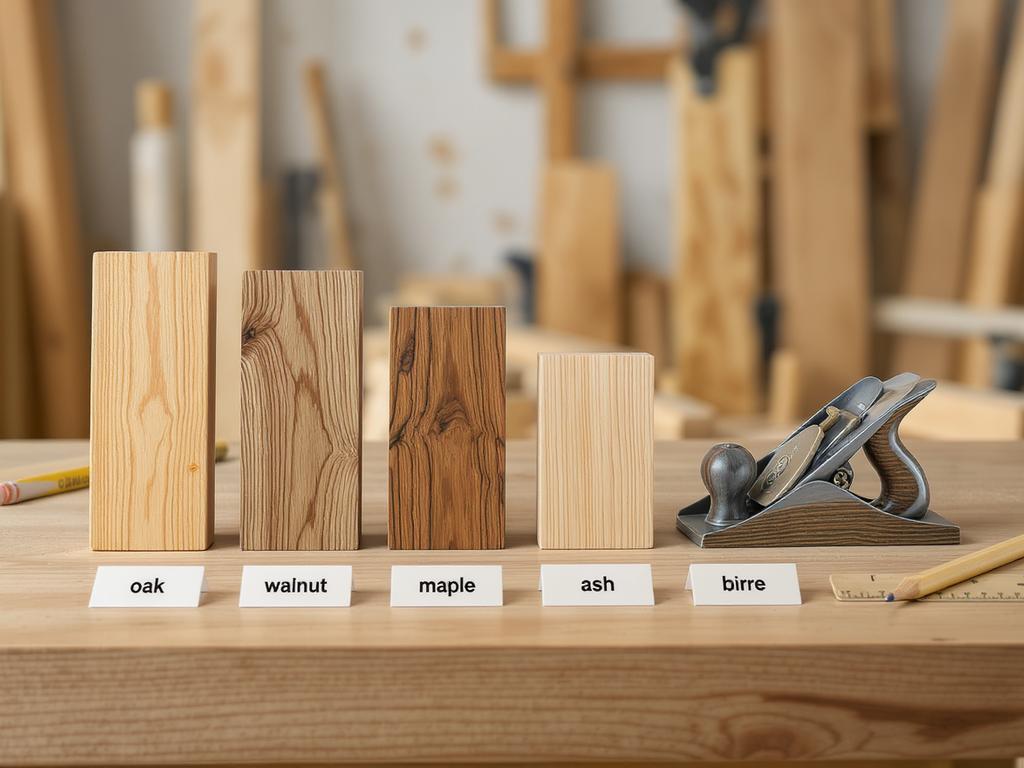
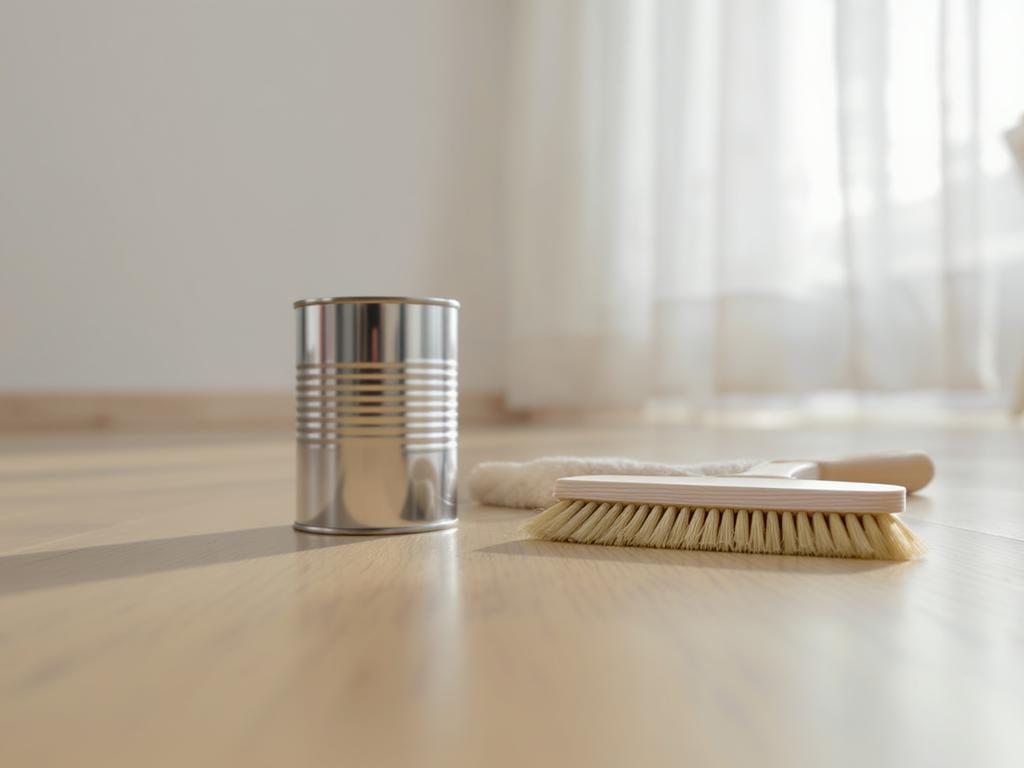
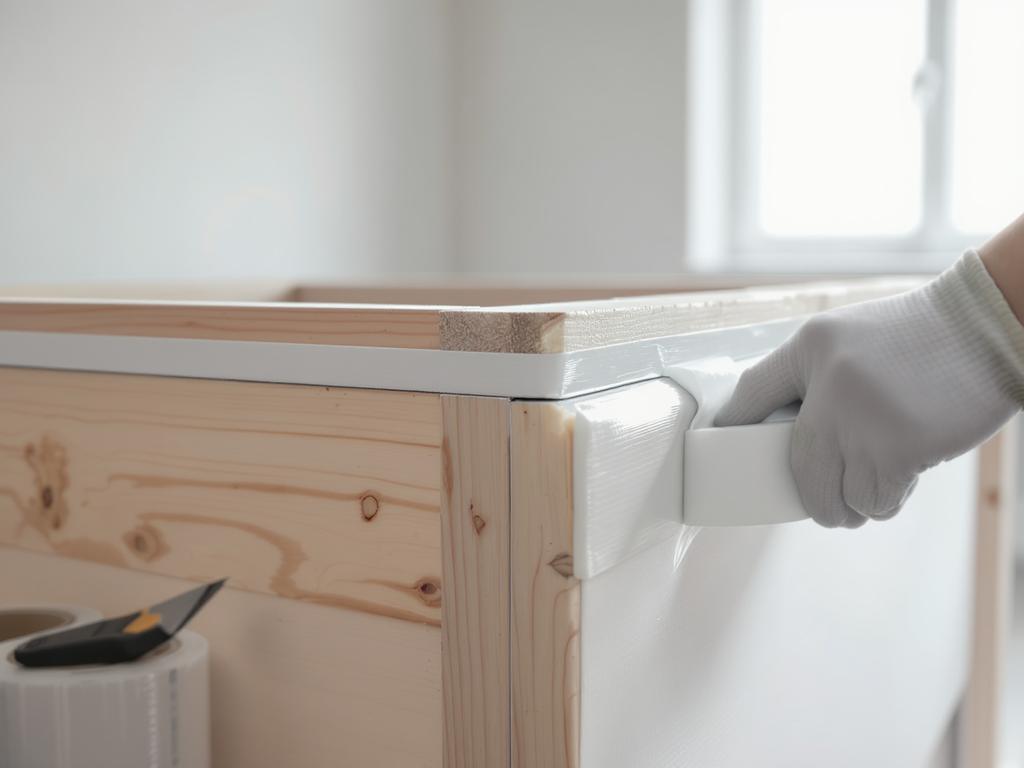
Neat joints are the difference between “homemade” and professional carpentry. The secret is not one magic tool, but a consistent workflow: accurate marking, controlled cutting, careful fitting, and a clean glue-up. Start with good stock preparation. Square, flat boards make every joint easier, so joint and plane your lumber (or check it with a straightedge). Choose the joint that matches the load: butt joints need reinforcement (screws, dowels, biscuits), dados and rabbets add strength for shelves and boxes, and mortise-and-tenon or dovetails handle heavy stress. Marking is where accuracy begins. Use a sharp pencil or marking knife, a combination square, and a marking gauge. Reference every measurement from the same face and edge to avoid cumulative errors. For shoulder lines, a knife line gives your saw or chisel a physical groove to register against. Cut slightly proud and fit to the line. When sawing, keep the blade just on the waste side. Clean up with a sharp chisel or shoulder plane, checking frequently. Aim for a “hand pressure” fit: tight enough to hold alignment, but not so tight that it splits the wood or starves the glue. During glue-up, do a dry fit first, then apply glue evenly (brush or roller) and clamp with cauls to keep parts flush. Measure diagonals to confirm squareness and wipe squeeze-out before it hardens. Finally, refine transitions with light sanding and break sharp edges for a crisp, finished look.
This was a solid, practical walkthrough and I liked the emphasis on workflow over “one magic tool.” The tip about referencing everything from the same face/edge and using a knife line for shoulder cuts actually cleaned up my fit on a couple dados. I do wish there were a few photos or a quick checklist at the end, but the advice on cutting proud and fitting to the line is spot on.
This was a solid, practical guide and I liked that it focused on workflow over “one magic tool.” The reminders about referencing from the same face/edge and cutting a hair proud before fitting to the line are exactly the little things that make joints come out cleaner. I do wish it had a quick visual example or two for each joint type, but the glue-up tips (dry fit, cauls, check diagonals) were spot on.