-
New York, NY
 HI 58° LO 56°

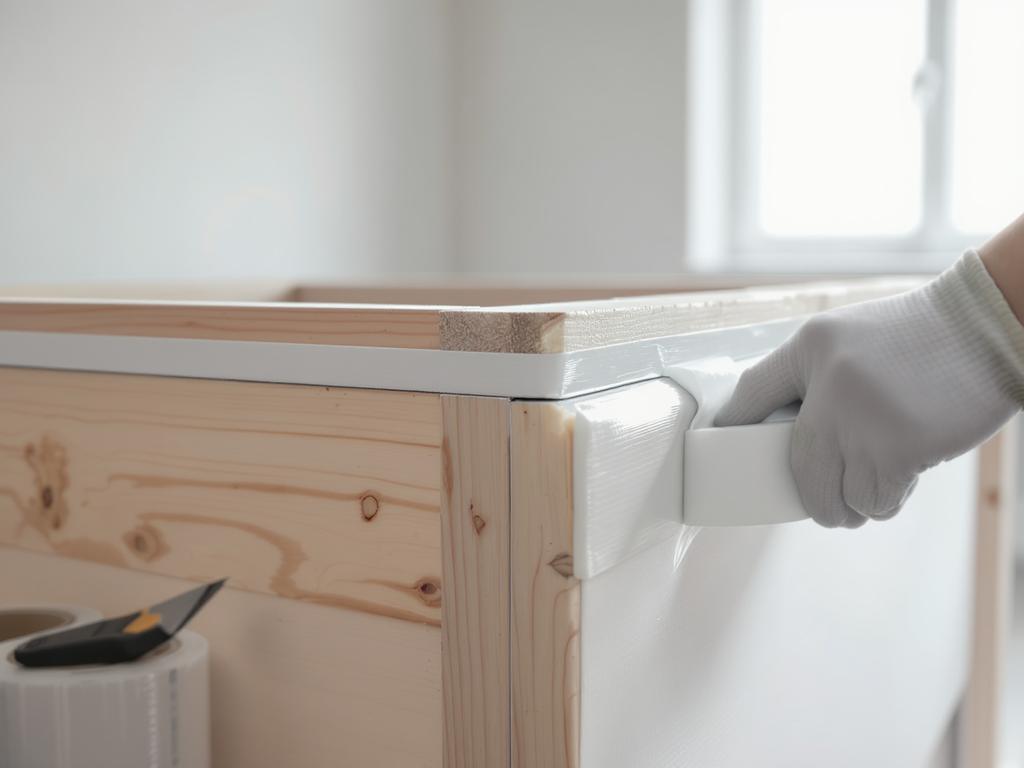
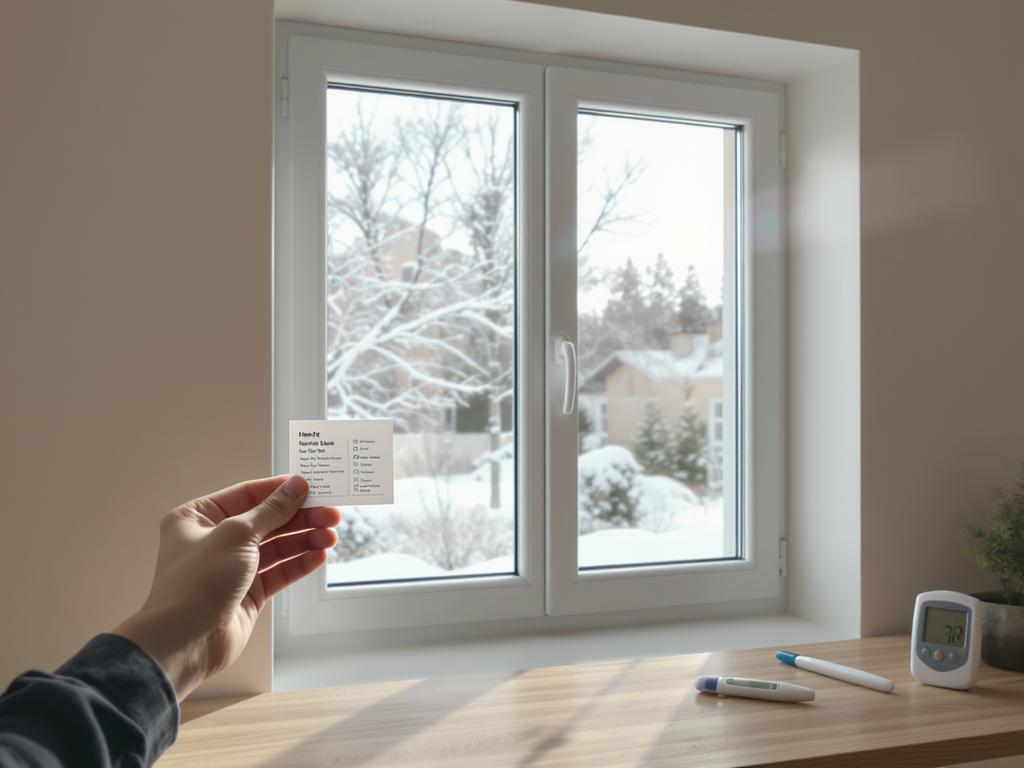
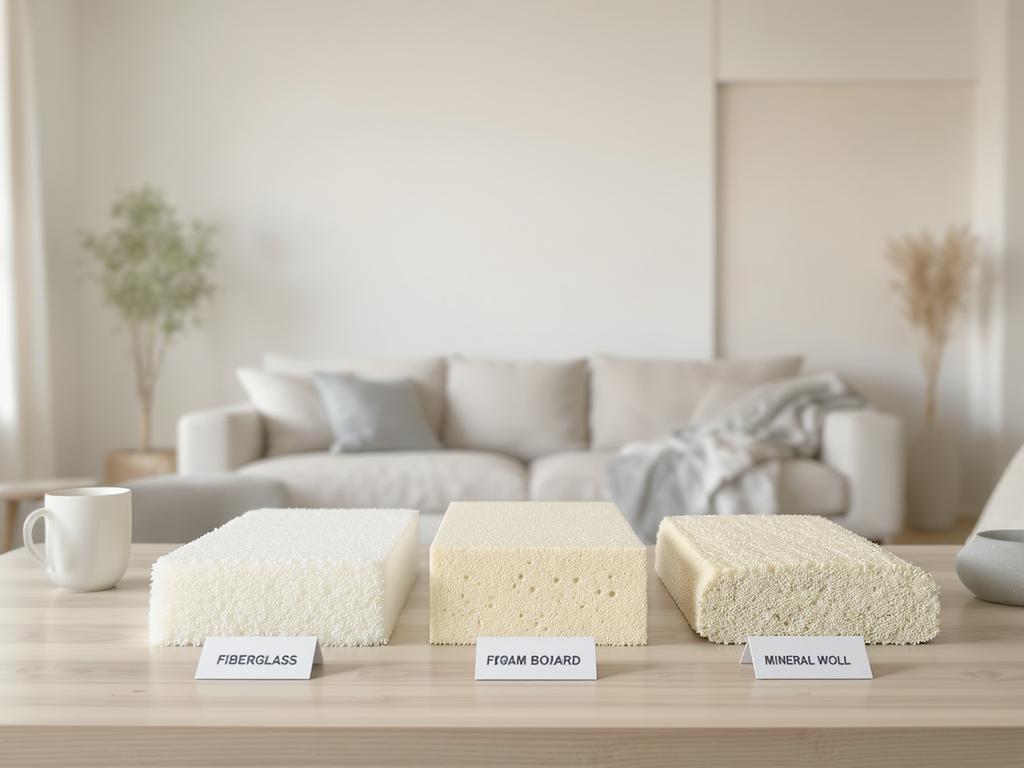
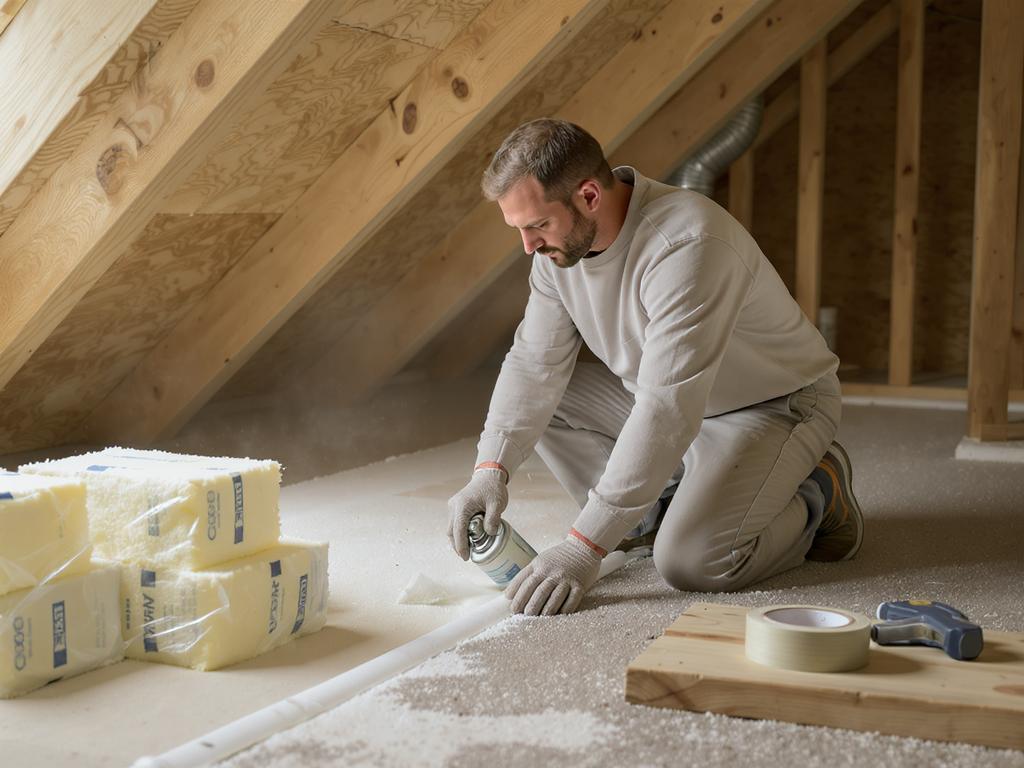
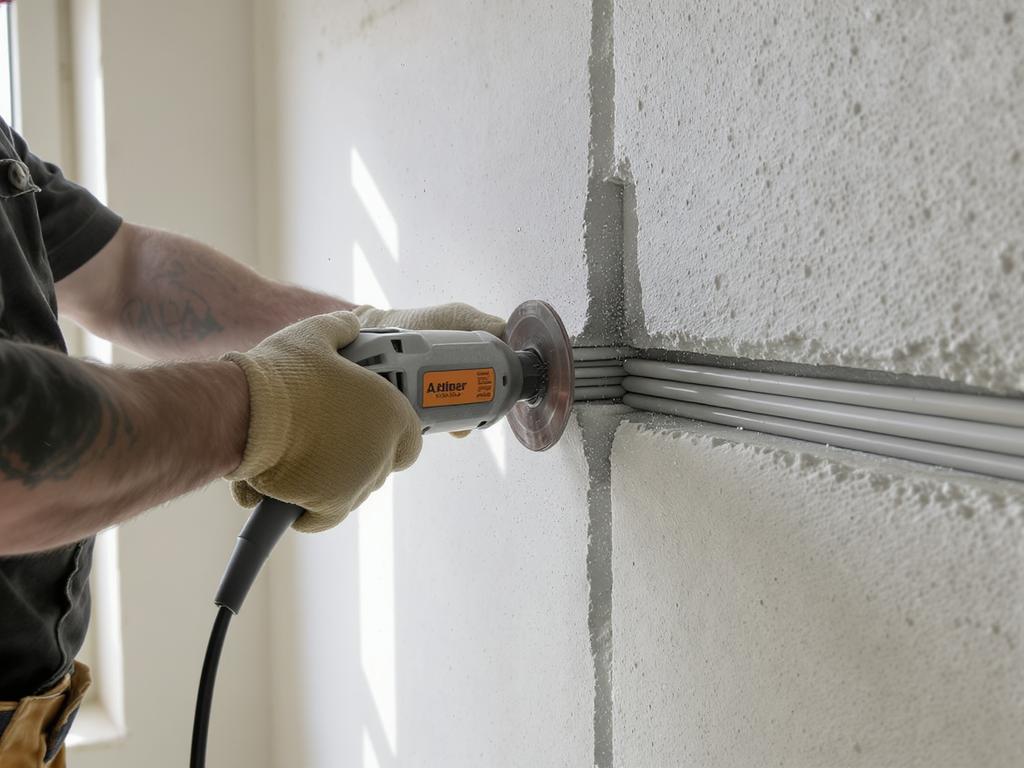
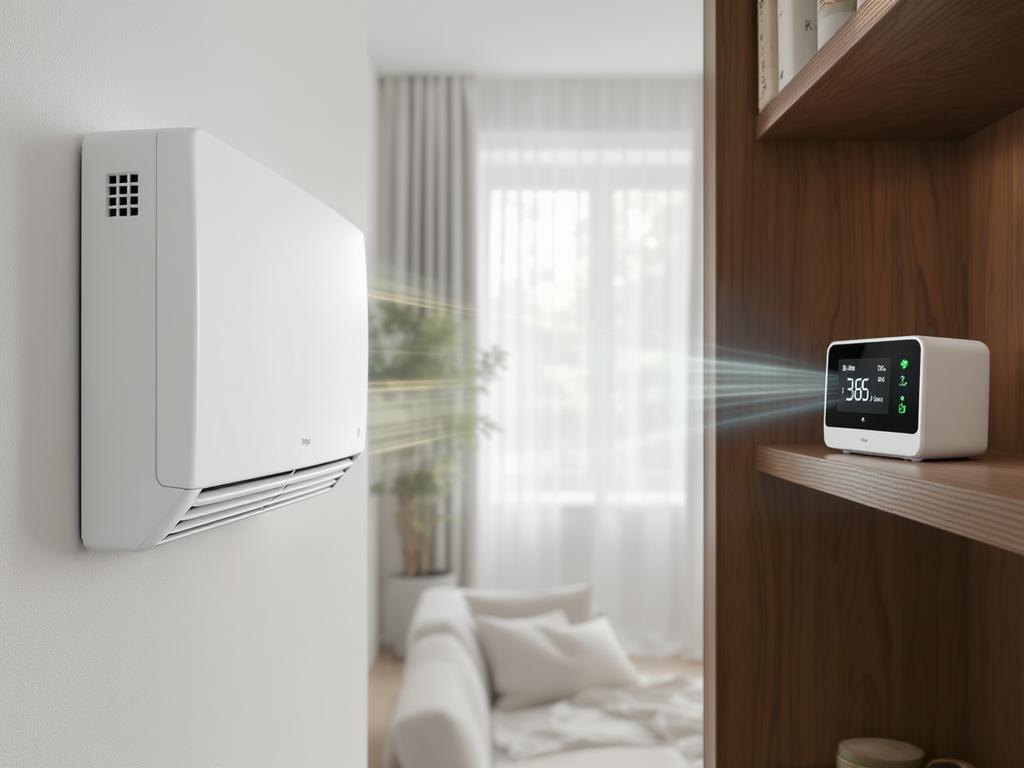
Thermal bridges and hidden condensation are among the most common causes of heat loss, damp stains, and mold after renovation. The good news: most failures repeat in the same “typical junctions” (nodes), and they can be prevented with clear detailing. Start with the main rule—continuity. The insulation layer must be continuous across walls, floors, roofs, and openings. Any gap, compressed insulation, or exposed concrete edge becomes a cold bridge. Plan a continuous thermal envelope on drawings, not only on site. Second rule—control air and vapor. Warm indoor air leaking into cold cavities condenses quickly. Prioritize airtightness with tapes, membranes, and sealants at junctions (wall–ceiling, wall–floor, around penetrations). Place the vapor control layer on the warm side where appropriate, and avoid “double vapor barriers” that can trap moisture. Key nodes to detail carefully: • Window installation: set frames within the insulation zone when possible; insulate reveals and sills; use a three-layer approach—outer weatherproof, middle insulation, inner airtight. • Balcony slabs and concrete beams: these are classic bridges; add external insulation wrapping or specify thermal-break elements during structural work. • Floor-to-wall junctions: run perimeter insulation up the wall, isolate screeds from cold walls, and prevent gaps behind skirting. • Roof-to-wall and attic junctions: ensure insulation continuity over the wall plate, protect against wind washing, and keep ventilation paths clear where required. Finally, verify with diagnostics: infrared scanning, blower-door testing, and humidity monitoring help catch issues before finishes hide them. With correct junction detailing, you reduce heating costs, eliminate condensation risk, and extend the life of your renovation.