-
New York, NY
 HI 58° LO 56°

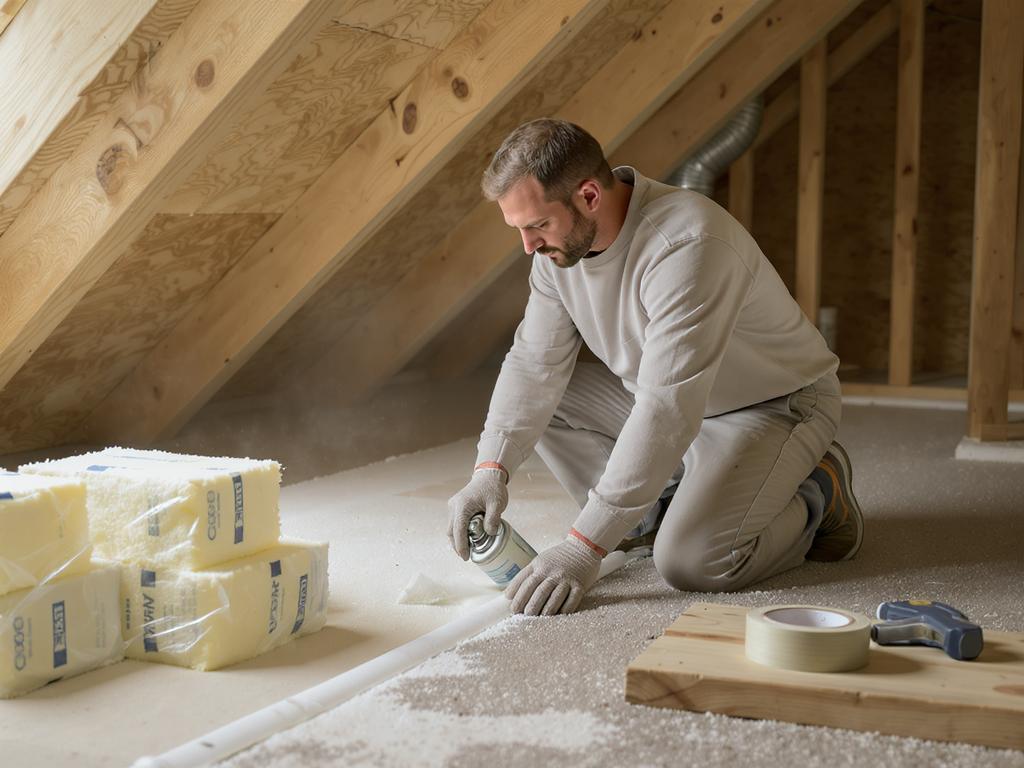
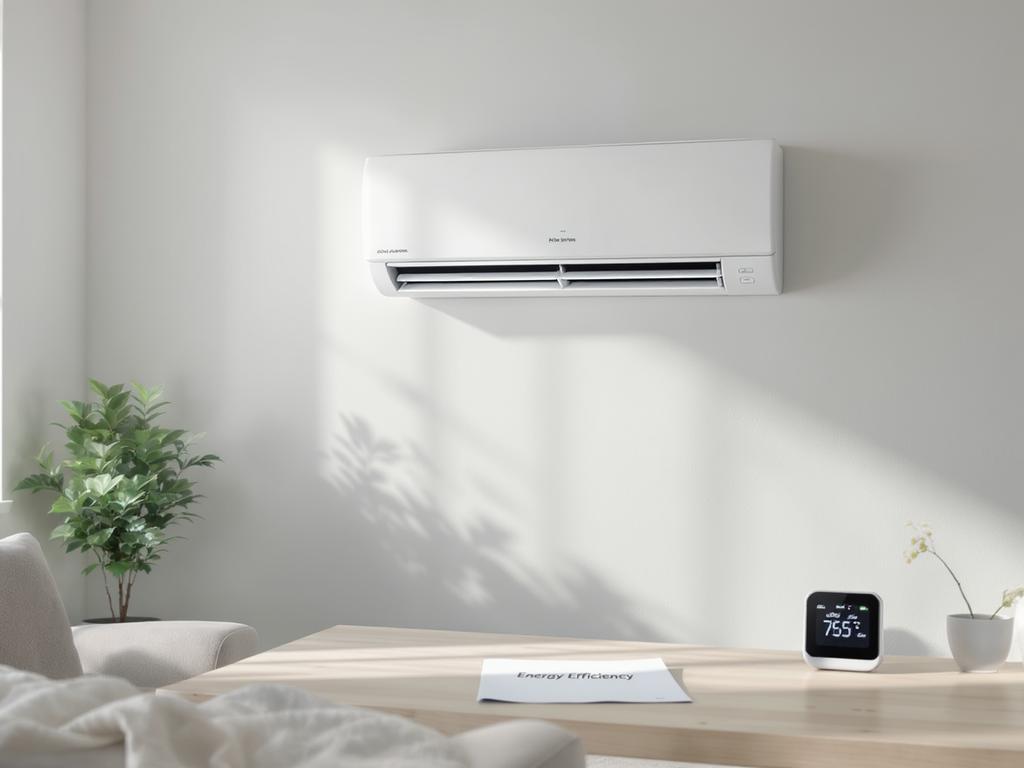
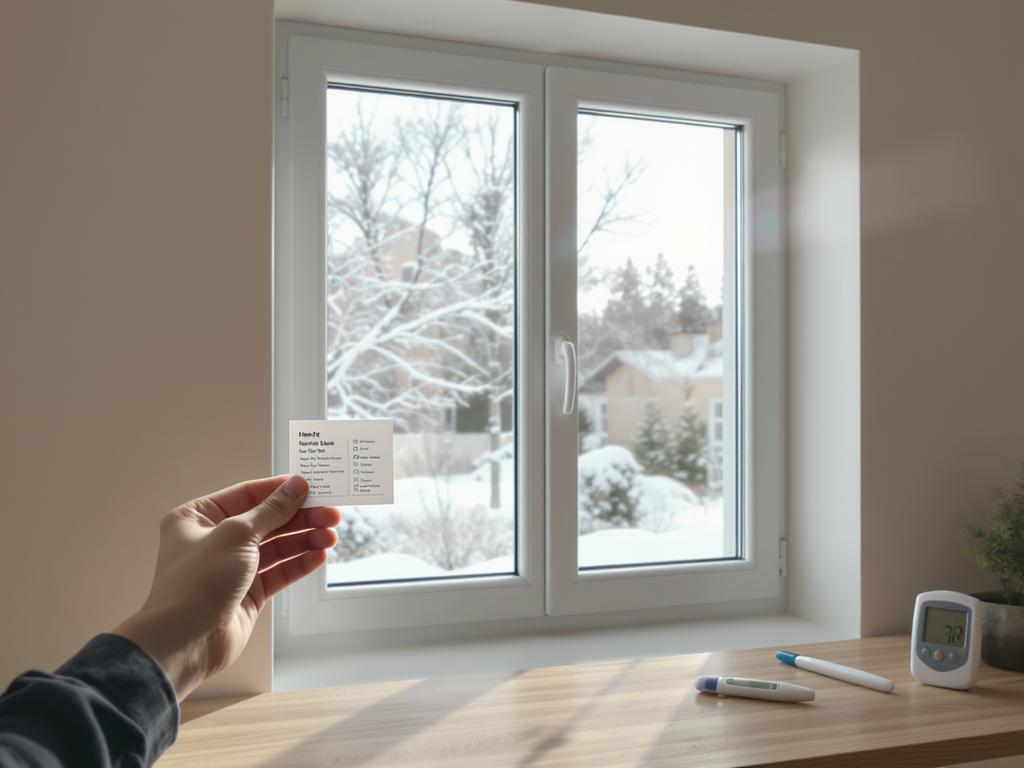
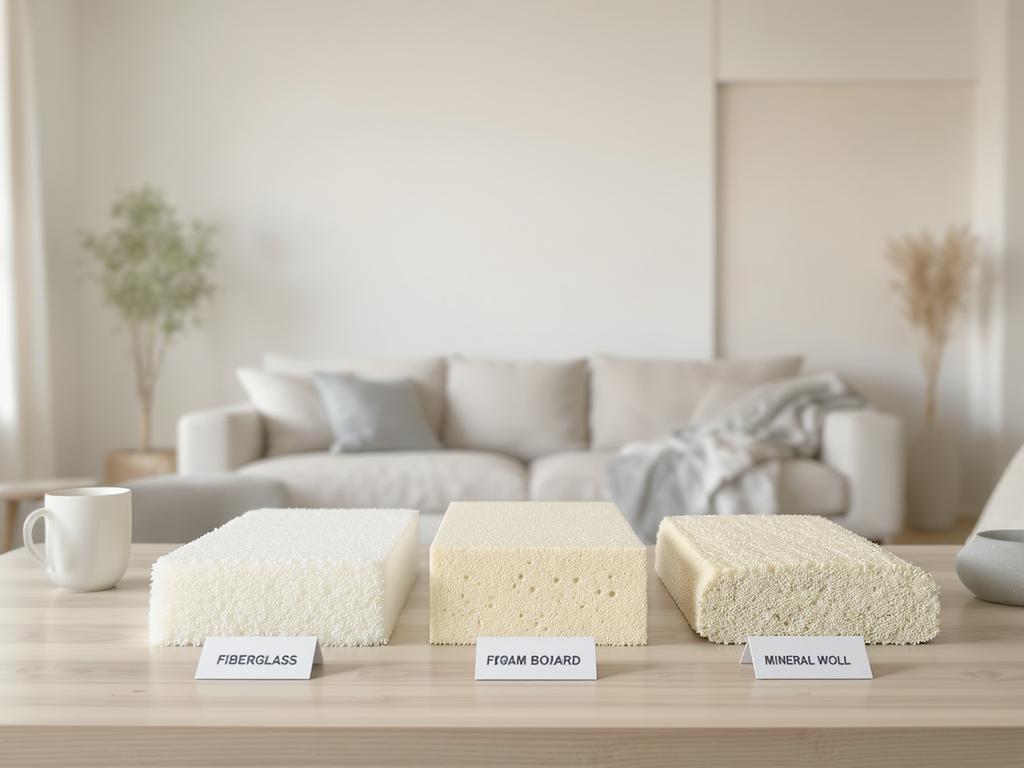
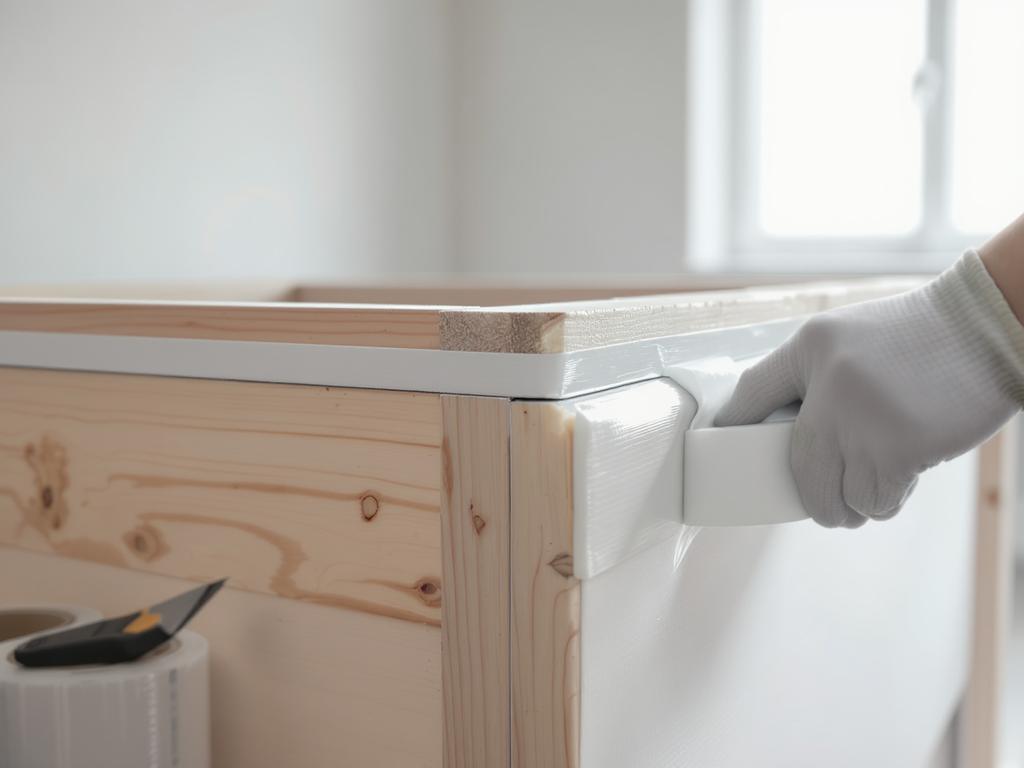
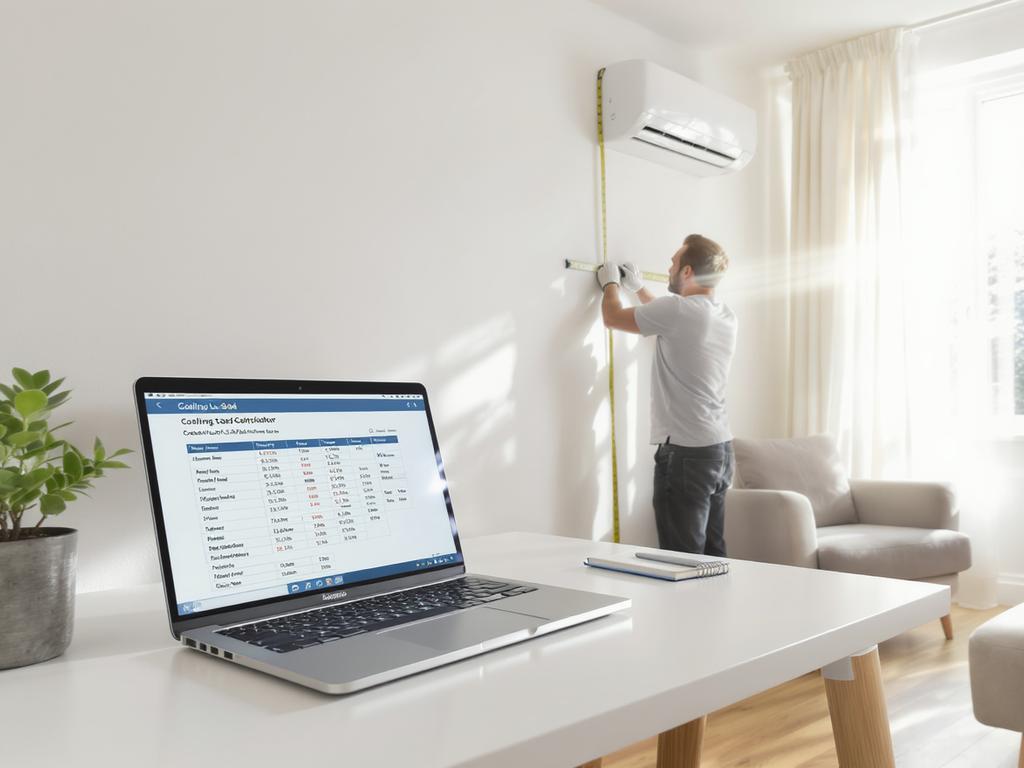
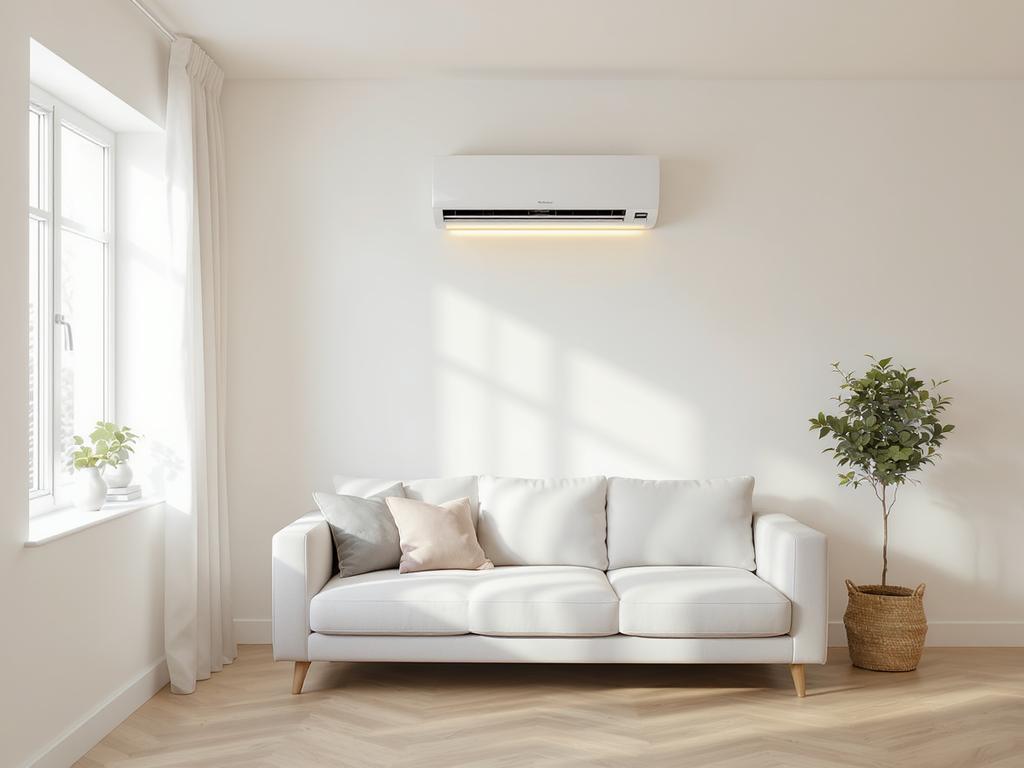
In construction and renovation, the cheapest “upgrade” for your heating and cooling system is often not a new unit—it’s reducing the amount of heat your home loses in winter and gains in summer. Proper thermal insulation and air sealing create a stable indoor climate, so your HVAC runs fewer hours, cycles more smoothly, and lasts longer. Start with the building envelope. The attic/roof is usually the biggest source of heat transfer, so ensure insulation meets local requirements and is evenly installed without gaps, compression, or wind washing. Exterior walls, floors over unconditioned spaces, and rim joists also matter: a continuous layer of insulation with minimized thermal bridges helps prevent cold spots and overheating. Air leakage can waste as much energy as poor insulation. Seal the “usual suspects”: around window and door frames, plumbing and electrical penetrations, recessed lights, attic hatches, and basement sill plates. Use caulk for small cracks, expanding foam for larger voids, and weatherstripping for operable components. Pay attention to the garage-to-house wall and door—this area is often leaky. Don’t forget ductwork. Leaky ducts in attics or crawlspaces can dump conditioned air outside and pull in dusty, humid air. Seal joints with mastic or approved tape, insulate ducts in unconditioned zones, and verify airflow balance. Finally, manage moisture. Air sealing and insulation should be paired with proper ventilation and, when needed, vapor control to prevent condensation and mold. After improving tightness, consider an energy audit or blower-door test to find remaining leaks and ensure your HVAC is sized correctly for the upgraded home.