-
New York, NY
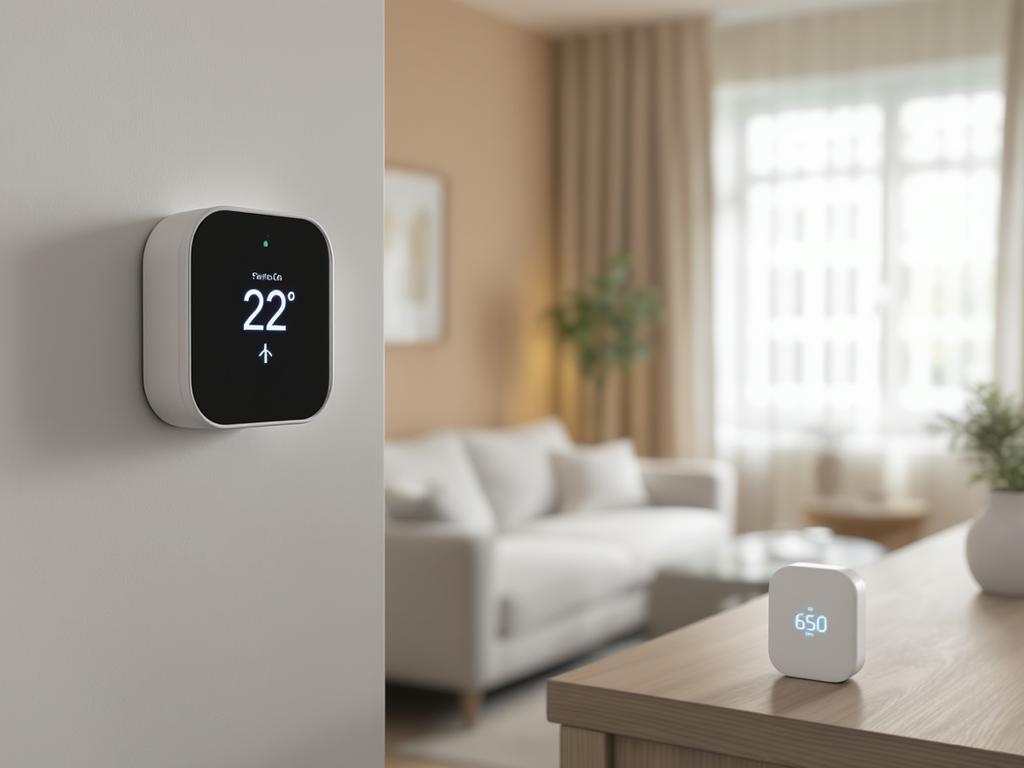
 HI 58° LO 56°

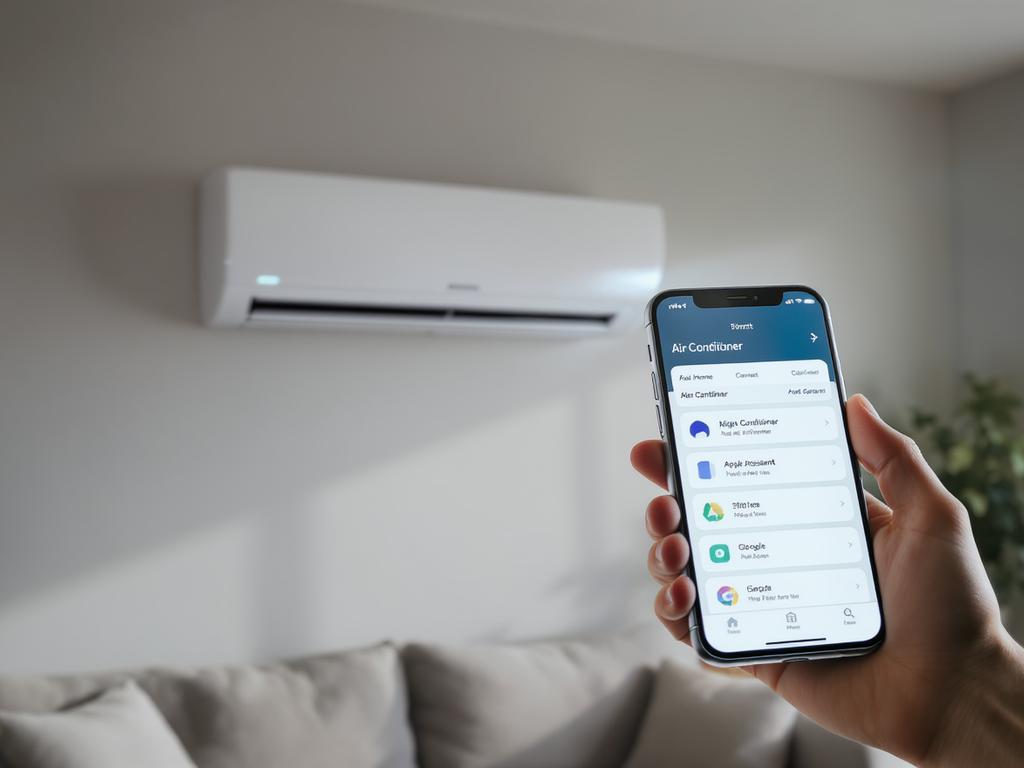
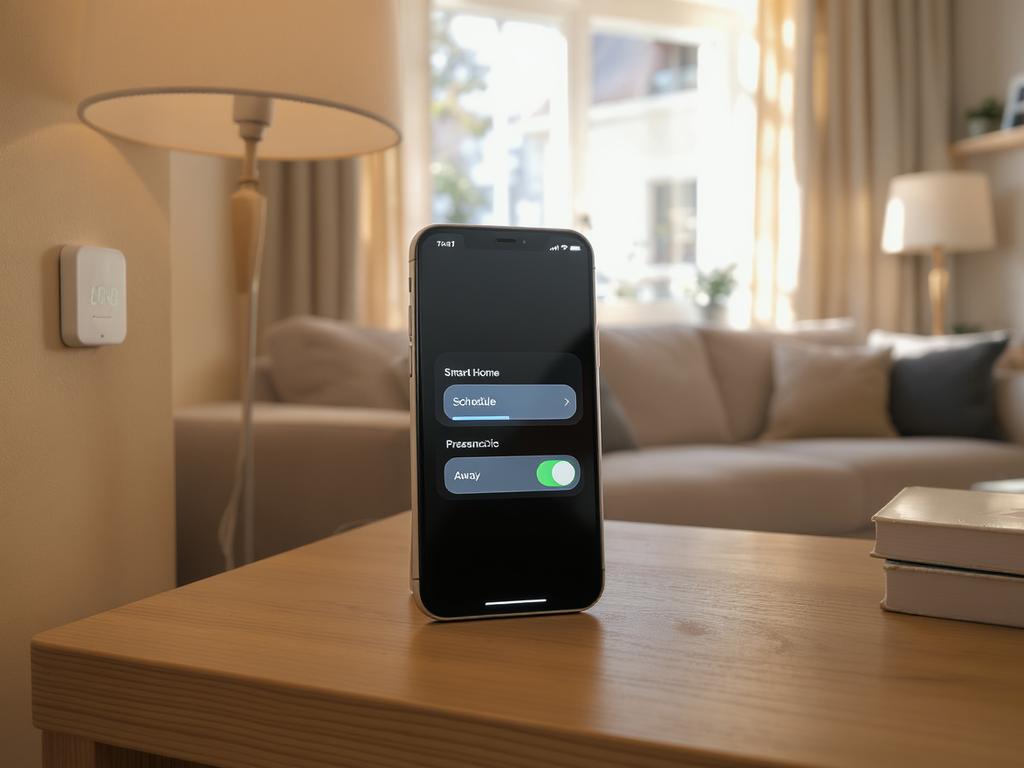
A smart home feels incomplete when climate control still depends on a remote. Integrating an air conditioner with Home Assistant, Apple Home, or Google Home lets you control temperature by voice, create schedules, and automate comfort based on presence, weather, or energy tariffs. Start by identifying your AC type. If it already supports Wi‑Fi and has a cloud app, integration is usually done through an official integration or a community connector in Home Assistant, then exposed to Apple Home (HomeKit) or Google Home. If your AC is “dumb”, the most common approach is an IR blaster (Broadlink, Tuya, etc.) that learns the remote commands. For more reliable state tracking (knowing whether the AC is truly on, mode, setpoint), consider a dedicated smart AC controller that supports feedback, or pair IR control with a temperature sensor. In Home Assistant, add the device integration, create a Climate entity, and verify modes (cool/heat/dry/auto), fan speeds, and swing settings. Then publish the entity to Apple Home via the HomeKit Bridge, or to Google Home via Nabu Casa/Google integration. Give it a clear room-based name like “Living Room AC” to improve voice control accuracy. Automation ideas: turn the AC off when everyone leaves; pre-cool the bedroom 20 minutes before bedtime; limit cooling when a window sensor is open; run “eco” mode during peak prices; maintain humidity targets in dry mode; or use a scene that sets lights and climate together. Troubleshooting tips: keep the IR blaster in line of sight, lock the AC’s remote receiver area unobstructed, disable conflicting vendor automations, and prefer local integrations when possible to reduce latency. With the right setup, your AC becomes a dependable part of your smart home ecosystem.